
Picture this: It’s a weeknight, you’re craving something crispy and satisfying, but you don’t want to spend hours in the kitchen. You’ve had a long day, and the last thing you need is a complicated recipe. But then you remember that bag of potatoes in your pantry—simple, humble, and waiting to be transformed into something extraordinary.
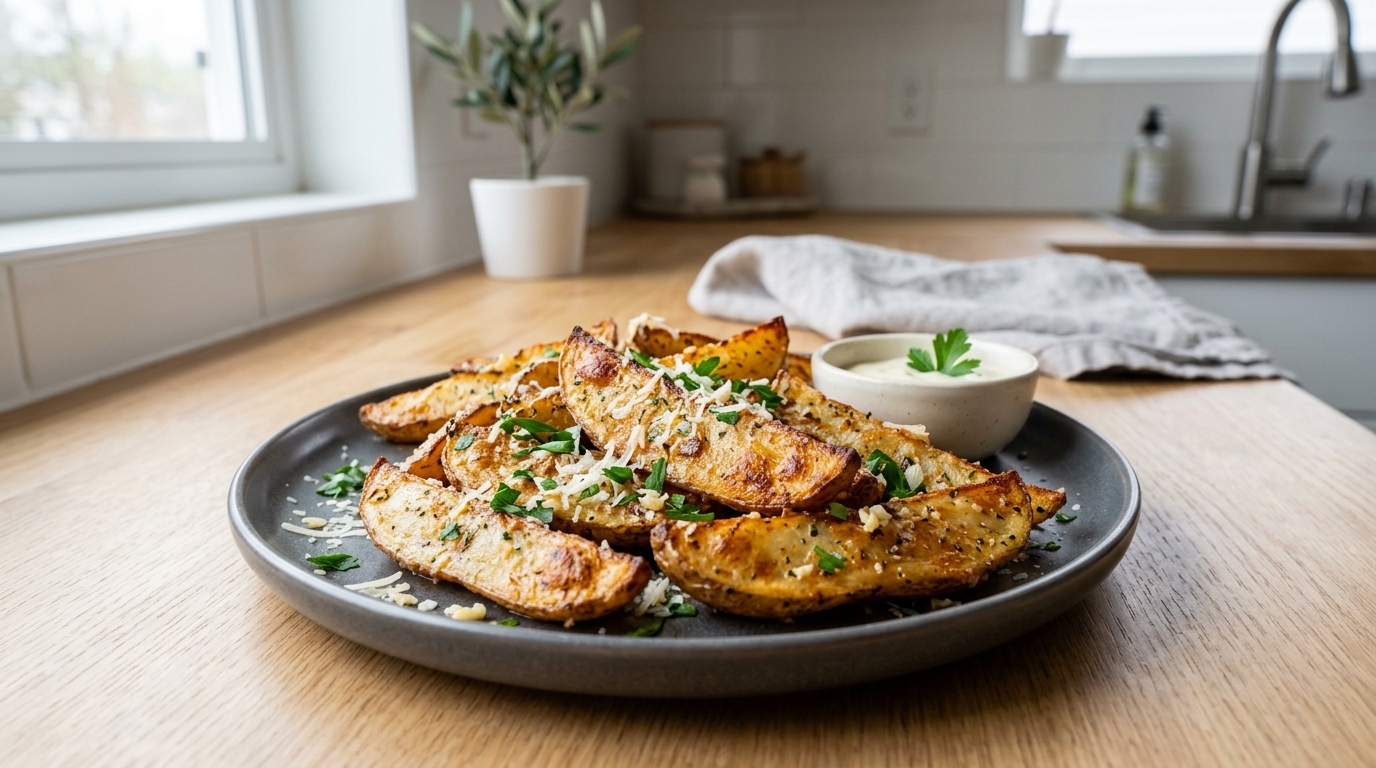
Garlic parmesan potato wedges aren’t just a side dish—they’re a mood. Golden, crispy on the outside, tender on the inside, and coated in a rich, savory blend of garlic, parmesan, and herbs. Whether you’re serving them alongside grilled chicken, dipping them into marinara, or enjoying them as a movie-night snack, this recipe delivers restaurant-quality results with minimal effort.
In this guide, I’ll walk you through everything you need to know to create the perfect garlic parmesan potato wedges—every single time. From selecting the best potatoes to achieving that irresistible crispy crunch, we’ve got you covered. Let’s dive in and get those wedges in the oven!
Why You’ll Fall in Love with These Wedges
There’s something magical about a perfectly crispy potato wedge. It’s that satisfying crunch when you bite through, followed by that soft, pillowy interior. Now add garlic and parmesan into the mix, and you’ve got a flavor combination that makes these wedges absolutely irresistible.
Quick and Easy Weeknight Solution
You need only 10 minutes of prep time and about 30 minutes in the oven. That’s less time than it takes to order takeout, and the results are so much more rewarding. This recipe serves four to six people, making it perfect for family dinners or when you’re hosting friends.
Think about it—this is a complete side dish that requires almost no hands-on cooking time. While the wedges bake, you can prepare your main protein, set the table, or simply relax. It’s the kind of meal that makes your weeknight feel like a special occasion without the stress.
Budget-Friendly Comfort Food
Here’s something that might surprise you: each serving costs roughly $1.50 to $2.00. That’s less than most sides you’d pick up at a restaurant, and infinitely more satisfying. You likely already have most of these ingredients in your pantry right now—olive oil, garlic powder, salt, and pepper.
This is comfort food at its finest. It’s the kind of recipe that reminds you why home cooking beats anything you can buy pre-made. When you pull these golden wedges from the oven, your kitchen will smell incredible, and your family will thank you.
Endless Serving Possibilities
These garlic parmesan potato wedges are incredibly versatile. Serve them alongside grilled chicken breast for a balanced weeknight dinner. Pair them with steak for an elevated weekend meal. Take them to a game day party and watch them disappear before halftime. They’re equally at home on a holiday table as they are scattered on a casual weeknight plate.
And here’s a secret: these wedges also work beautifully as a base for loaded toppings. Think bacon bits, sour cream, and chives. Or keep it simple with a side of marinara sauce for dipping. Either way, you can’t go wrong.
Choosing the Right Potatoes for Perfect Wedges
The foundation of any great potato wedge starts with selecting the right spud. Not all potatoes are created equal when it comes to achieving that perfect crispy exterior and tender interior.
The Best Potato Varieties
Russet potatoes are your best friend here. They have a high starch content, which is exactly what you want for crispiness. When you bake them, the starches break down and create that beautiful golden crust while the inside becomes light and fluffy.
Yukon Gold potatoes are a solid alternative if you prefer a slightly creamier interior. They won’t get quite as crispy as russets, but they have a lovely buttery flavor that pairs wonderfully with the garlic and parmesan.
Here’s what you should avoid: waxy potatoes like red potatoes or new potatoes. These varieties hold their shape well but won’t give you the crispy texture you’re after. They’ll end up more like boiled potatoes than roasted wedges.
Fresh vs. Pre-Cut
Whenever possible, start with whole potatoes and cut them yourself. Pre-cut wedges from the grocery store can work in a pinch, but they often have rough edges that don’t crisp up as nicely. Plus, whole potatoes stay fresh longer.
When cutting your own wedges, aim for pieces that are similar in size—this ensures they cook evenly. A medium russet should yield about 8 to 10 wedges. Cut in half lengthwise, then cut each half into 4 or 5 wedge pieces.
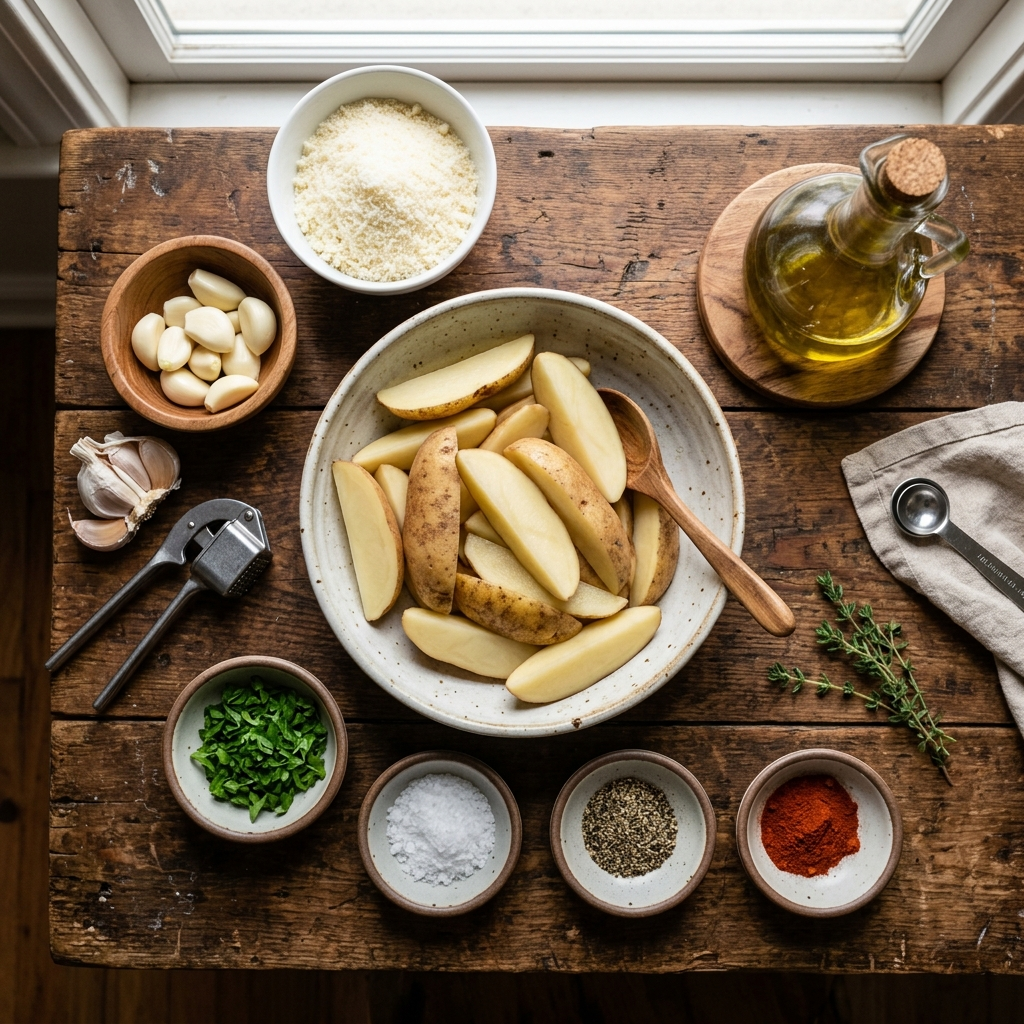
Ingredients & Measurements
Before you start, gather everything you need. Here’s your complete shopping list:
| Ingredient | Amount | Notes |
|---|---|---|
| Russet potatoes | 4 large | Washed and dried |
| Olive oil | 3 tablespoons | Or melted butter works too |
| Garlic powder | 1 tablespoon | See note below for fresh option |
| Grated Parmesan cheese | ½ cup | Freshly grated is best |
| Dried Italian herbs | 1 teaspoon | Oregano, basil, thyme blend |
| Salt | 1 teaspoon | Adjust to your preference |
| Black pepper | ½ teaspoon | Freshly cracked tastes superior |
| Paprika (optional) | ½ teaspoon | Adds beautiful color |
| Fresh parsley | 2 tablespoons | Chopped, for garnish |
One important note: if you prefer fresh garlic over garlic powder, you’ll want to add it carefully. Fresh garlic can burn at high temperatures, so I recommend tossing your wedges with the other seasonings first, then adding the minced garlic during the last 10 minutes of baking.
Step-by-Step Recipe Instructions
Now comes the fun part—transforming those humble potatoes into something extraordinary. Follow these steps carefully, and I’ll guide you to wedge perfection.
Preparing Your Oven and Pan
Start by preheating your oven to 425°F (220°C). This high temperature is essential for achieving that crispy exterior. While the oven heats up, line a large baking sheet with parchment paper or aluminum foil. This prevents sticking and makes cleanup a breeze.
Pro tip: if you have a convection oven, turn that setting on. The circulating air helps these wedges get extra crispy—almost like they’re being roasted by a gentle wind.
Prepping the Potatoes
Wash your russet potatoes thoroughly under running water, scrubbing away any dirt. Use a clean kitchen towel or paper towels to pat them completely dry. This step is crucial—any moisture on the surface will steam instead of crisp, and nobody wants soggy wedges.
Now, cut each potato in half lengthwise, then cut each half into 4 to 5 wedge pieces, depending on the potato’s size. Aim for pieces that are about 1-inch thick at the thickest part. This ensures they’ll cook through without burning on the outside.
Place your cut wedges in a large bowl. Here’s a common mistake to avoid: don’t skip drying them again after cutting. The cutting process releases moisture, so give them another pat with paper towels if they look wet.
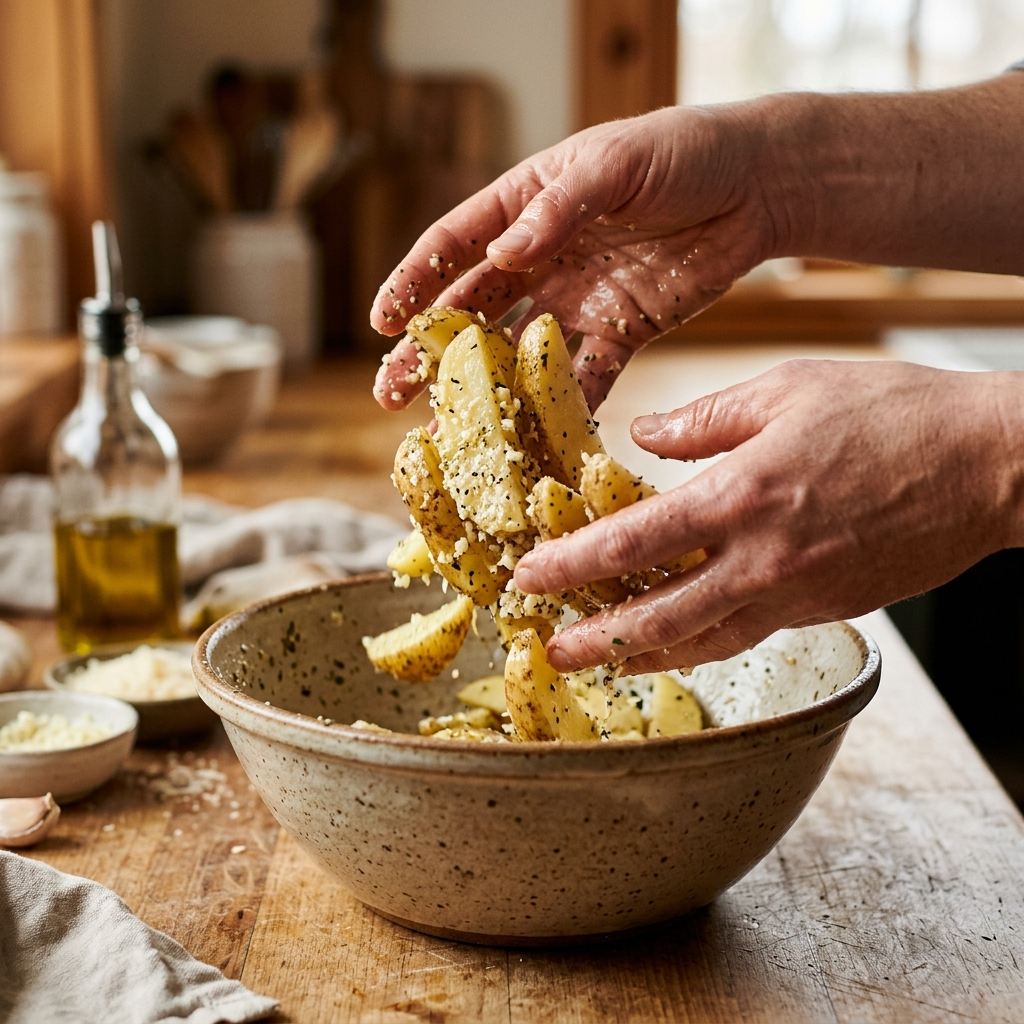
Seasoning Like a Pro
Drizzle the olive oil over your potato wedges. Use your hands or a large spoon to toss them until they’re evenly coated with oil. You want every surface covered—this is what helps the seasonings stick and promotes browning.
Now sprinkle on the garlic powder, salt, pepper, Italian herbs, and paprika if you’re using it. Toss again to distribute the seasonings evenly. The garlic powder should coat each wedge with a light, fragrant layer.
Here’s where it gets exciting: add your grated Parmesan cheese. Toss everything together one more time, making sure the parmesan gets distributed throughout. The cheese will melt and create little crispy pockets during baking—it’s absolutely delicious.
Arranging for Success
Spread your seasoned wedges on the prepared baking sheet in a single layer. This is another critical step: don’t crowd the pan. If your wedges are touching or stacked on top of each other, they’ll steam instead of crisp. Use two baking sheets if needed.
Give each wedge a little space—about half an inch around each piece. This allows hot air to circulate and gives you that beautiful golden-brown color on all sides.
Baking to Perfection
Slide your pan into the preheated oven and set a timer for 25 minutes. At the halfway point (around 12-13 minutes), carefully remove the pan and flip each wedge using tongs. This ensures even browning on both sides.
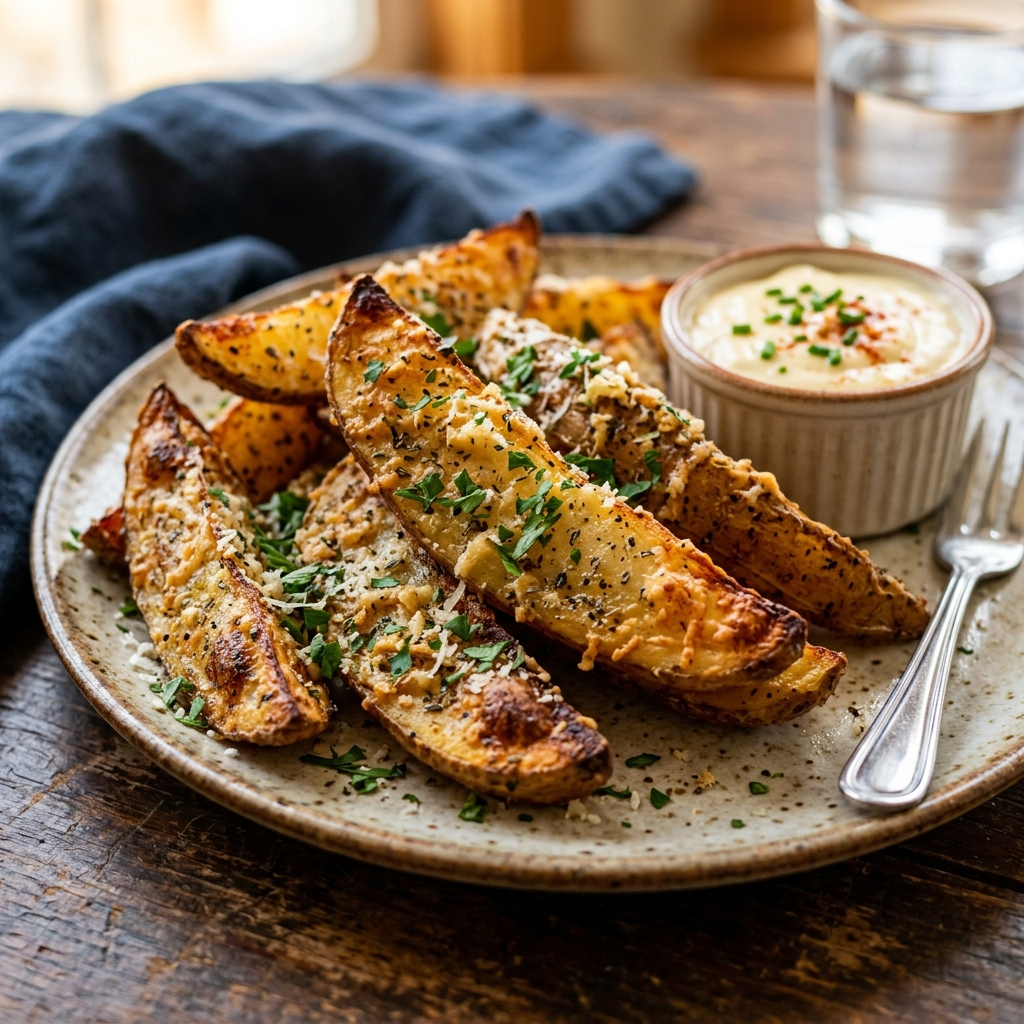
Continue baking for another 12-15 minutes until the wedges are golden and crispy on the edges. For extra crunch, switch your oven to broil for the last 2-3 minutes—but keep a close eye on them so they don’t burn.
When they’re done, remove from the oven and let them rest for 5 minutes. This allows the cheese to set slightly and makes them easier to handle. Sprinkle with fresh parsley before serving, and enjoy!
Secrets to Maximum Crispiness
After making these wedges hundreds of times, I’ve learned a few tricks that separate good wedges from great ones. Let me share my hard-earned wisdom with you.
Temperature Matters More Than You Think
That high oven temperature isn’t just a suggestion—it’s essential. 425°F or higher creates steam on the exterior of the potato, which rapidly evaporates and creates that satisfying crunch. Lower temperatures result in soft, rubbery wedges that nobody enjoys.
If your oven runs hot, you can reduce to 400°F. Just add a few extra minutes to the cooking time. Every oven is different, so get to know yours.
The Drying Secret
I cannot stress this enough: dry your potatoes thoroughly before seasoning. I’m not just talking about the initial drying—do it again after cutting. Those extra few seconds with a paper towel will transform your results.
When potatoes are wet, they’re essentially steaming instead of roasting. You want the exterior to caramelize, not the interior to boil. That brief drying step is the difference between restaurant-quality wedges and disappointment.
Give Them Space
This is probably the most common mistake home cooks make. They try to fit too many wedges on one pan, thinking it’ll save time. But all that overcrowding creates steam, which works against crispiness.
If you need to make a large batch, use multiple pans or cook in batches. Yes, it takes a bit longer, but the results are worth it. Plus, having two pans going means you can rotate them in the oven for even cooking.
The Broiler Hack
Want to take your wedges from great to extraordinary? Use the broiler for the last few minutes of cooking. This blasts the tops with direct, intense heat that creates an extra-crispy crust.
Just watch them carefully—broilers go from perfect to burnt in seconds. Stay by the oven and pull them out the moment you see that deep golden brown color.
Delicious Variations to Try
Once you’ve mastered the basic recipe, these variations will keep things exciting and prevent recipe fatigue.
Spicy Garlic Parmesan Wedges
If you love a little heat, add some cayenne pepper or red pepper flakes to the seasoning mixture. Start with half a teaspoon and adjust to your tolerance level. The heat pairs beautifully with the rich garlic and parmesan.
These spicy wedges are incredible with a cooling ranch dressing or blue cheese dip to balance the heat.
Loaded Wedges
Transform your wedges into a fully loaded treat by topping them with:
- Crumbled bacon bits
- Shredded cheddar cheese
- Sour cream
- Chopped chives
- Diced green onions
Add the cheese during the last 5 minutes of baking so it melts beautifully, then add the other toppings after removing from the oven.
Healthier Air Fryer Version
If you’re looking to reduce oil, your air fryer is your friend. Preheat to 400°F, arrange wedges in a single layer, and cook for 15-18 minutes, shaking the basket halfway through.
You’ll get crispy results with significantly less oil. The texture won’t be quite the same as oven-baked—slightly drier on the exterior—but still delicious and much healthier.
Vegan and Dairy-Free Option
Replace the Parmesan cheese with nutritional yeast for that cheesy, umami flavor without the dairy. Use avocado oil instead of olive oil for a higher smoke point, and you’re all set.
These vegan wedges are just as crispy and flavorful—you won’t miss the dairy at all.
Perfect Pairings and Serving Ideas
These garlic parmesan potato wedges are incredibly versatile when it comes to what you serve alongside them.
Go-To Dipping Sauces
Sometimes simple is best, and a good dipping sauce can elevate your wedges to new heights. Here are some crowd favorites:
- Classic marinara sauce
- Creamy garlic aioli
- Cool ranch dressing
- Tangy BBQ sauce
- Honey mustard
Choose one or set out a few for a dipping station at your next gathering.
Protein Pairings That Work
These wedges pair beautifully with almost any protein. Some of our favorite combinations include:
- Grilled chicken breast with herbs
- BBQ ribs with sticky sauce
- Baked salmon with lemon
- CRISPY pork tenderloin
- Veggie burgers for a meatless option
The wedges also work wonderfully as a base for a vegetarian meal when topped with sautéed vegetables and cheese.
Occasion Ideas
These wedges aren’t just for weeknights. Consider them for:
- Game day watching parties
- Potluck gatherings
- Holiday side dishes
- Late-night snacking
- Kids’ birthday parties
They travel well in an insulated bag, making them perfect for taking to someone else’s house.
Common Mistakes and How to Avoid Them
Even the best cooks run into problems sometimes. Here’s how to troubleshoot the most common issues.
Problem: Soggy Wedges
This usually happens for three reasons: overcrowding the pan, not drying the potatoes, or baking at too low temperature. Ensure your oven is at 425°F or higher, dry your potatoes thoroughly, and give each wedge space to breathe.
Problem: Uneven Cooking
If some wedges are burnt while others are undercooked, your pieces are likely uneven in size. Take time to cut your wedges to similar dimensions. Also, rotate your baking sheets in the oven if you notice hot spots.
Problem: Wedges Stick to the Pan
Use parchment paper or a silicone baking mat. If you skip this, oil your pan generously. Sometimes wedges will stick no matter what—don’t force them, or you’ll break the crispy exterior. Let them cool slightly and they’ll release more easily.
Problem: Not Enough Flavor
Taste as you go! Don’t be shy with the salt and parmesan. These wedges should be boldly flavored, not bland. You can always add more, but you can’t take it away.
Storing and Reheating Leftovers
If by some miracle you have leftovers (they rarely last in our house), here’s how to handle them.
Refrigeration
Store cooled wedges in an airtight container in the refrigerator for up to 4 days. Layer them with paper towels to absorb any moisture.
Reheating Methods
Here’s where things get important: don’t use the microwave. It will make your wedges soggy and sad.
Instead, reheat in a 350°F oven for 10-15 minutes, or in the air fryer at 380°F for 5-7 minutes. Both methods restore the crispy exterior beautifully.
Freezing
You can freeze these wedges, though the texture changes slightly. Flash-freeze them on a tray first, then transfer to freezer bags. Reheat from frozen at 400°F for about 20 minutes, flipping halfway through.
Conclusion: Your Turn to Make Perfect Wedges
Garlic parmesan potato wedges are the ultimate combination of simplicity, flavor, and versatility. With just a handful of ingredients and about 40 minutes, you can transform ordinary potatoes into a crispy, cheesy, garlicky masterpiece that works for everything from quick weeknight dinners to game day gatherings.
The key to success lies in three simple principles: choose the right potato, dry them thoroughly, and bake hot. Follow these guidelines, and you’ll never have soggy, bland wedges again. Your family will think you ordered from a restaurant, but they’ll never know how easy it actually was.
Now it’s your turn—grab those potatoes, preheat your oven, and get ready to make the best garlic parmesan potato wedges you’ve ever tasted.
Frequently Asked Questions
What potatoes are best for garlic parmesan potato wedges?
Russet potatoes are ideal because of their high starch content, which creates a crispy exterior and fluffy interior. Yukon Gold potatoes also work well if you prefer a slightly creamier texture.
How do I make garlic parmesan potato wedges crispy in the air fryer?
Preheat your air fryer to 400°F, arrange wedges in a single layer, and cook for 15-18 minutes, shaking the basket halfway through. This method produces extra-crispy results with less oil.
Can I use fresh garlic instead of garlic powder?
Absolutely! Toss your wedges with 3-4 minced fresh garlic cloves along with the other seasonings. Just be aware that fresh garlic may burn at higher temperatures, so add it during the last 10 minutes of baking if using high heat.
How long do garlic parmesan potato wedges last in the fridge?
Properly stored in an airtight container, they’ll stay fresh for up to 4 days in the refrigerator. Reheat in the oven or air fryer for best results.
Are garlic parmesan potato wedges gluten-free?
Yes! This recipe is naturally gluten-free as long as you use pure Parmesan cheese without additives. Always check your parmesan label if you have celiac disease or gluten sensitivity.
Can I make garlic parmesan potato wedges ahead of time?
You can prep and season the wedges ahead, then store them in the fridge for up to 24 hours before baking. For best results, bake them fresh, as pre-cut potatoes can turn brown when exposed to air.
Why are my potato wedges not getting crispy?
The most common causes are overcrowding the pan (causing steam), not drying the potatoes thoroughly, or baking at too low a temperature. Try increasing your oven to 425°F or higher and ensure good air circulation around each wedge.


